Table Of Content

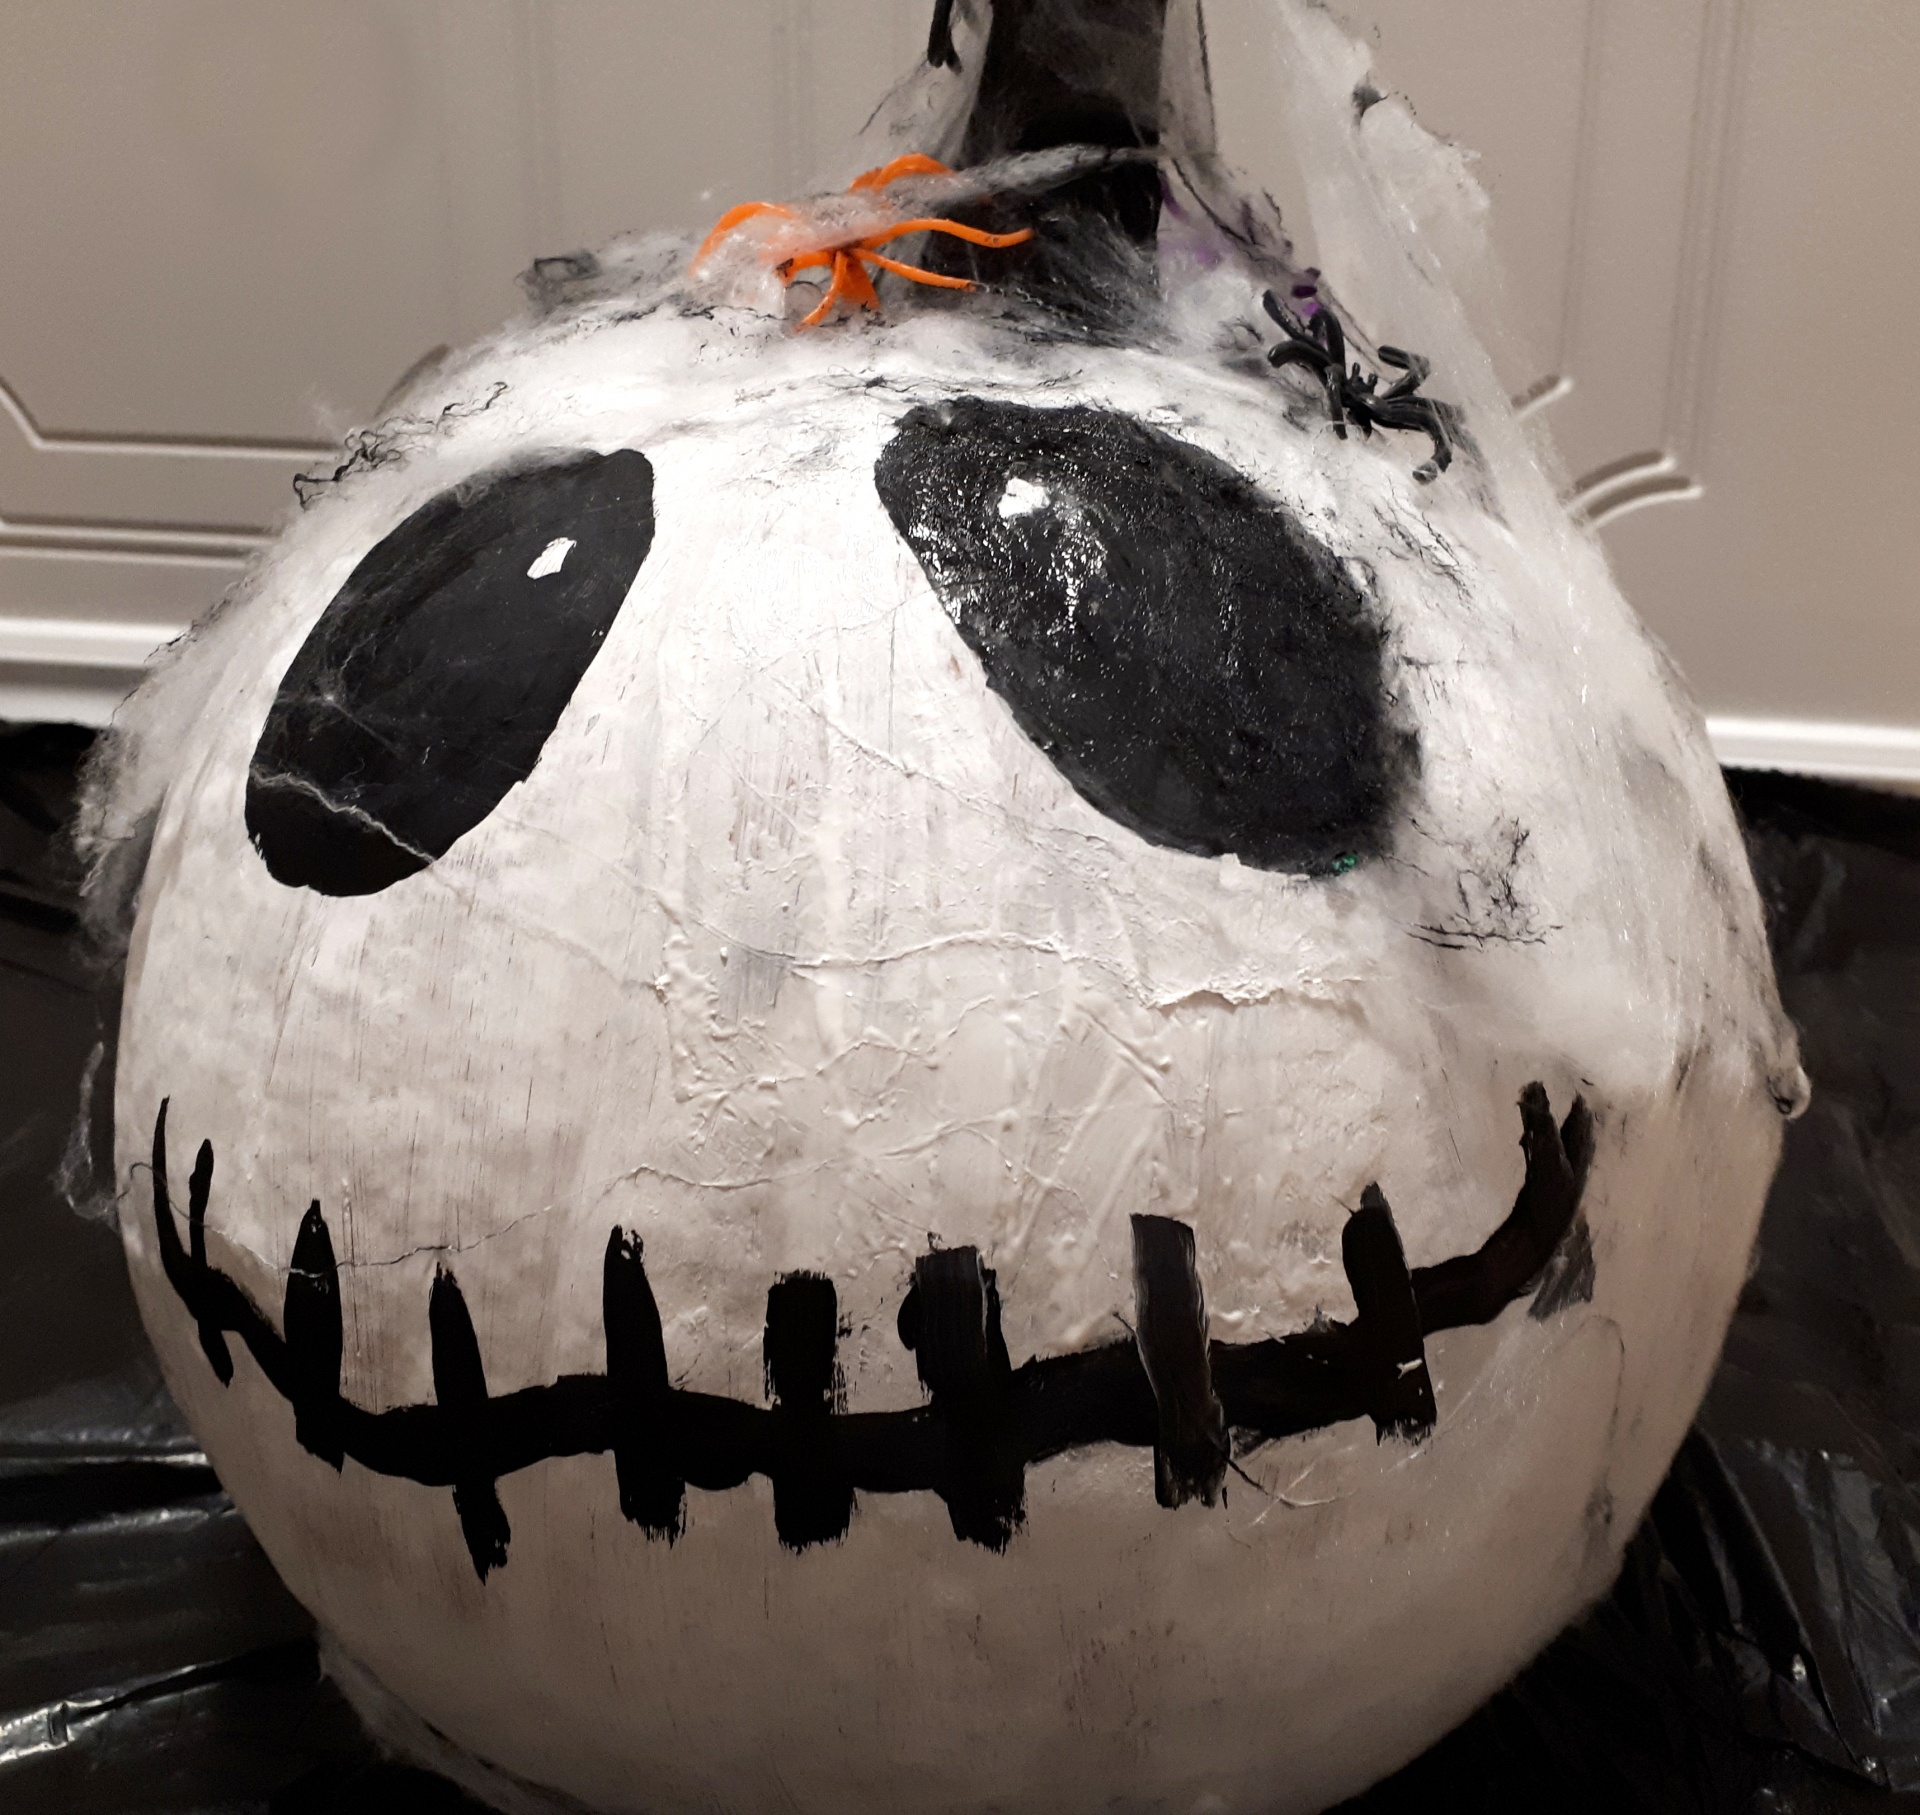
We love this wood pumpkin as a treat holder, filled with fall florals, or even flickering LED candles. I'm Jamielyn Nye, cookbook author, mom of 4, and a big fan of naptime and chocolate. The Inspiration Board is a DIY craft and lifestyle blog sharing easy crafts and tips, to help inspire creativity. It’s a great carving idea if you would rather not have a spooky pumpkin outside your door. Step 1 Start as you normally would when carving a pumpkin – cut a hole in the top and empty the innards out of the pumpkin. Then I cleaned up my sizable pumpkin mess and threw in a candle.
000+ classes ranging from fundamentals to advanced
The diy glitter drip pumpkins technique is commonly used on larger pumpkins, but can also be applied to mini pumpkins. Transforming these cute little gourds into sparkling masterpieces adds a touch of glam to your Halloween decor. Get creative and experiment with different glitter colors for a personalized touch. No matter what you choose to carve, be sure to draw your design on the pumpkin first with a marker before cutting and scoop out the insides thoroughly. That will help the light shine through your carving. After you’ve drilled all the patterns, clean off the loose pieces of pumpkin.
DIY Pumpkin Carving With A Drill
Remember to lighten up on the pressure — your pumpkin is a much softer canvas than typical building materials. You can use the drill bit to carve out circles of varying sizes or use multiple drill bits to achieve different looks. Once you've drilled into the circles for your pattern, wipe down the pumpkin to remove any excess skin and splatters. Then place a candle inside, and just like that, you have a totally stunning and unique Halloween pumpkin — all without the tiresome work of carving and cutting.
Fun & Easy Treats
My name is Ashley, and I believe you should love where you live. The team at Mad in Crafts got celestial and used a drill to make stars on constellation pumpkins. Create the pattern of your dreams using a stencil or by drilling freehand.
Run the drill bits through the holes again, if necessary, to clear out pumpkin debris. Different-sized drill bits can help make interesting new patterns. Domestic Imperfection shows how to use a small solar-powered light to create a drilled pumpkin marvel.
So instead of showing y’all an adorable picture of my kids looking disgusted, here is one of me and my brother circa 1996. I couldn’t resist painting a few more pumpkins in gorgeous muted shades of blue. Grab a few drill sizes and plan which you’ll use where. I used two, the small one on the inside detail and the large one on the outside of my seahorse. The duo at 17 Apart used drills to create a lovely display on their stoop. Before you get to work on your pumpkin this year, read through to learn all about the variety of ways you can customize a pumpkin with just a drill and some ingenuity.
Love to cook, bake, craft, create?
Why carve pumpkins when you can use power tools? - KTOO
Why carve pumpkins when you can use power tools?.
Posted: Wed, 26 Oct 2016 07:00:00 GMT [source]
The 4x4s are more substantial, so these pumpkins can be made taller in height - a great mantle or console table decor element. This blog post outlines how to carve mini pumpkins using a drill. First, the author recommends using a small pumpkin and carving a hole in the top for the stem.
Pumpkin Carving with a Drill
The holes will not be smooth on the inside, so I took a sheet of sandpaper and gently sanded the inside to get rid of the excess foam around the holes. After this part, I gave the pumpkins an additional coat of pant to cover up any damage done by the power drill. Insert a battery operated light inside and then get ready to display ! I can’t wait to show you more projects I have in the line-up for this fall! But in the mean time, here are 4 other projects for you to browse through and add to your to-do list this season!

This has to be the easiest way I’ve seen to create a fabulous pumpkin for Halloween. You will need to use a small drill bit and be careful not to drill too deeply. Start by drilling holes around the edge of the pumpkin where you want to make your cuts.
Making a really cool design with a power tool is actually easier than carving traditional designs on your Halloween pumpkins. A drill is perfect for making uniform-sized holes to make fun designs. If you have scrap 4x4 pieces of wood - here's a great way to add fall decor to your space on a budget! This fun DIY project is easy to do and brings a wood stained element to your home.
For the small pumpkin, I used a 7/16 bit for the centers of the flowers, and a ¼ bit for the petals. That leaf pumpkin somehow ended up looking like a giant ball of glowing pumpkin mold in all my pictures. Anyway, there you have it…pumpkins with a drill. The good news is that my kids think they’re pretty much the best thing ever, and my porch feels festive for the first time in many years.
The 17 Apart pumpkin-themed posts are darling! They’ve chronicled two years of pumpkin carvings and the constellation-themed approach is a real show stopper…these are such great pumpkin ideas. Here's a beautiful fall pumpkin project to make your home festive and beautiful - wood slice pumpkins. Just paint, add stem and decor and you'll have a unique and handmade piece for your home.
Geometric patterns also make for eye-catching pumpkin carvings. Now that I’ve shared how easy it is to make a coastal drilled pumpkin, are you ready to try your hand at drilling a pumpkin with a drill yourself? Here’s a little graphic to pin just in case you want to save this for next year. You can also check out more Coastal Fall Decor Ideas for more inspiration. Modern Vintage Events has a primer on how to use different-sized drill bits to create a variety of patterns. Using a tool with sharp edge, cut the top off so you can lift it off.
You might also notice in the photo above that I was marking my holes with a Sharpie. Permanent marker is apparently permanent even on pumpkins, so if you mess up, you can’t wipe it off. I quickly switched to a ballpoint pen when I realized the Sharpie wasn’t going to wipe off. Luckily, I only made a few permanent marks on the back of one of the pumpkins as I was planning it out, so no harm done.


No comments:
Post a Comment